You are viewing an old version of this page. Return to the latest version.
No categories assigned
Customers Job Aids
-
- Last edited 4 years ago by Gelo
-
Contents
Customer
Managing Customer
Adding New Customer
- On the Main Menu, click the Gear Icon then choose Maintenance
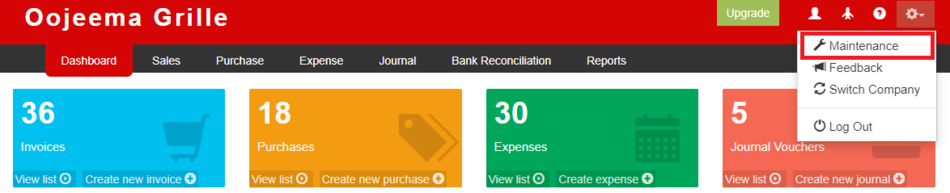
- Under Maintenance Side Bar, Click Customer
- Under Customer Menu, Click Options then choose Add Customer
- Fill up the necessary fields
- Click Save
%20-%20Step%2001.png)
Viewing Account
- On the Main Menu, click the Gear Icon then choose Maintenanc
- Under Maintenance Side Bar, Click Customer
- Under Customer Menu, Select the account that needs to view its details, click the drop down arrow then choose View
Editing Account
- On the Main Menu, click the Gear Icon then choose Maintenance
- Under Maintenance Side Bar, Click Customer
- Under Customer Menu, Select the account that needs to updates its details, click the drop down arrow then choose Edit
- Update the necessary fields
- Click Save
Deleting Account
- On the Main Menu, click the Gear Icon then choose Maintenance
- Under Maintenance Side Bar, Click Customer
- Under Customer Menu, Select the account that needs to be deleted, click the drop down arrow then choose Delete
- Click Yes to Confirm the cancellation process
- Click Save
Exporting and Importing Account
Exporting Account
- On the Main Menu, click the Gear Icon then choose Maintenance
- Under Maintenance Side Bar, Click Customer
- Under Customer Menu, Click Options then Click Export Customer
- User has an option to change the display and change the account type for precise exporting of records
Importing Account
- On the Main Menu, click the Gear Icon then choose Maintenance
- Under Maintenance Side Bar, Click Customer
- Under Customer Menu, Click Options then Click Import Customer
- Download the template provided in the link on Step 1
- Fill-up the template
- Import the template then Click Save