No categories assigned
Oojeema Pro Purchase Job Aids
-
- Last edited 4 years ago by Gelo
-
Contents
Purchase Module Job Aids
Managing Purchase No.
Creating Purchase Transaction
- Under Main Menu, Click Purchase

- Under Purchase Menu, Click Create New Purchase

- Fill up the necessary fields on the Header Part
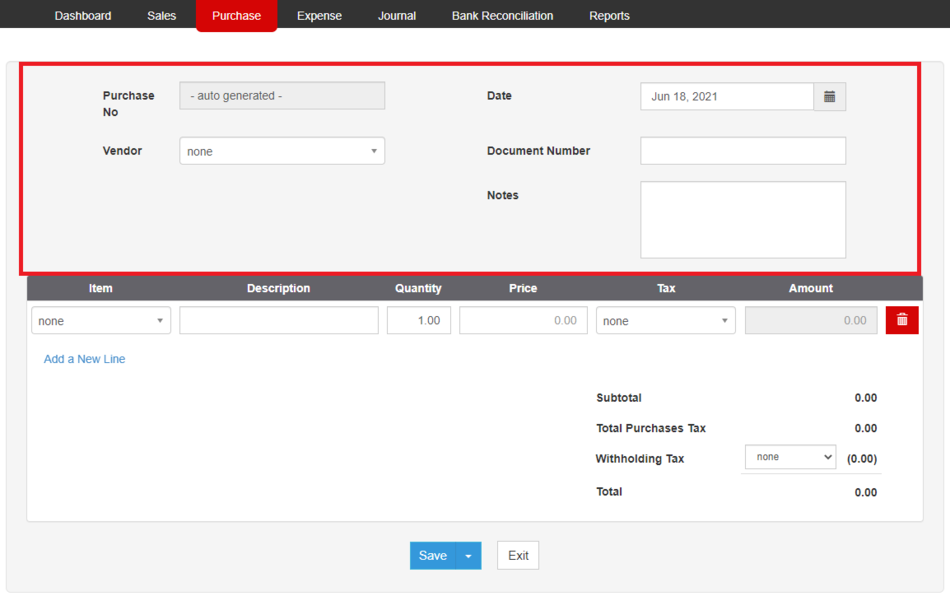
- Take Note that the Vendor field is required for this transaction
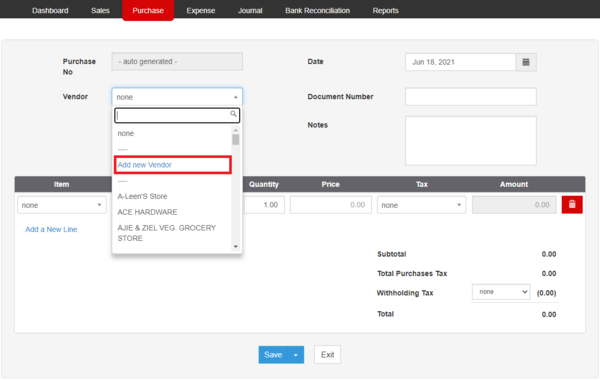
- User can add a Vendor under Vendor field by clicking the Drop-down arrow then choose Add New Vendor
- Make sure to fill up the required fields in order to create new Vendor.
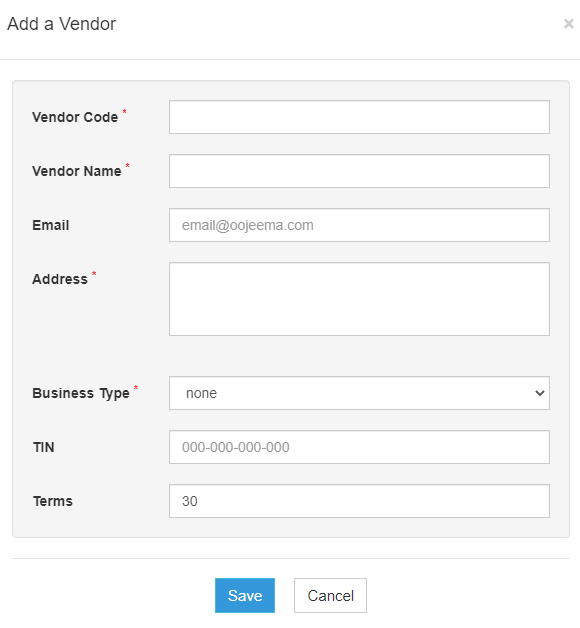
- Make sure to fill up the required fields in order to create new Vendor.
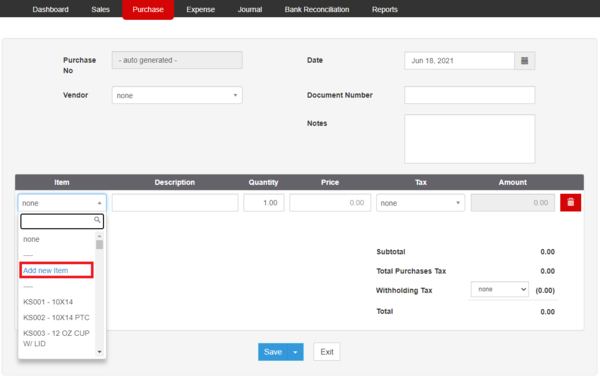
- Fill up the Item Field
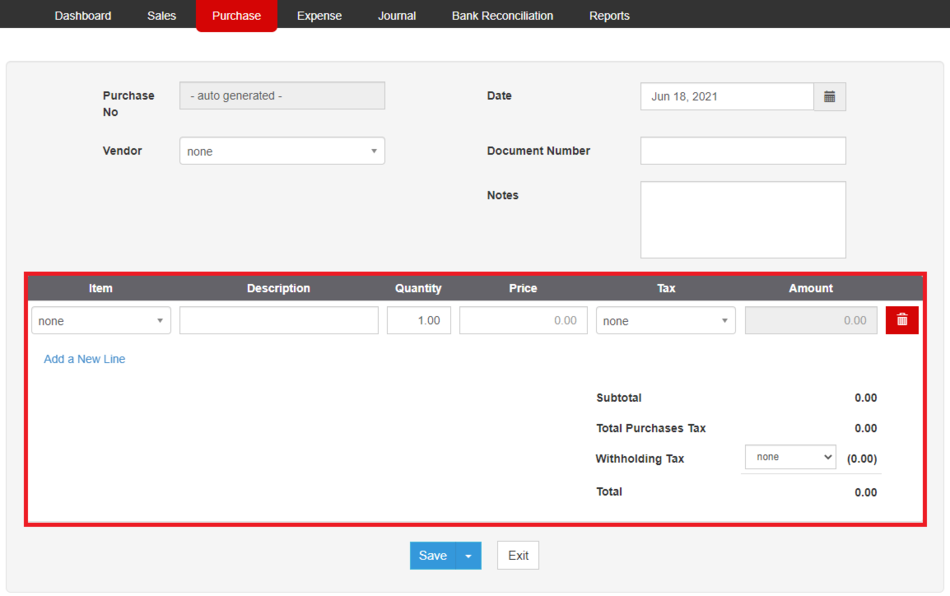
- Make sure to fill up the required fields in order to create an Item record
- Take Note that it requires at least one item in order for the transaction to proceed
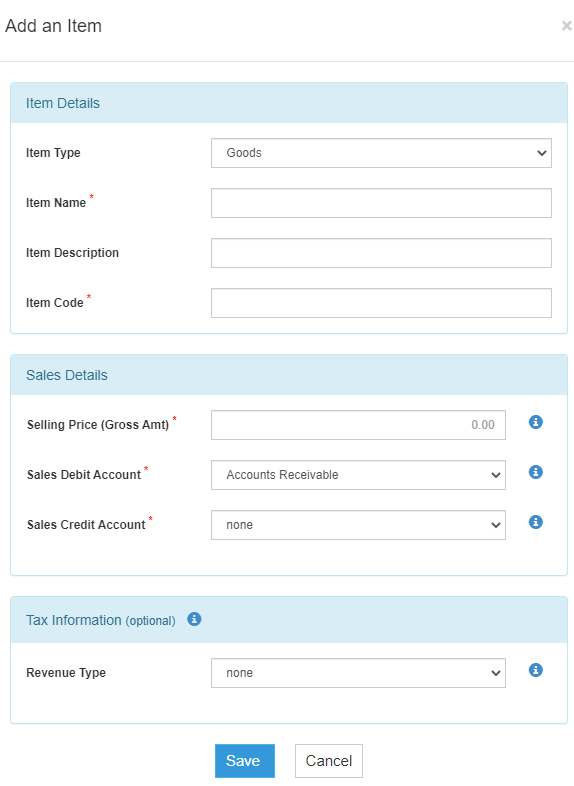
- User can add an Item under Item field by clicking the Drop-down arrow then choose Add New Item
- Make sure to fill up the required fields in order to create an Item record
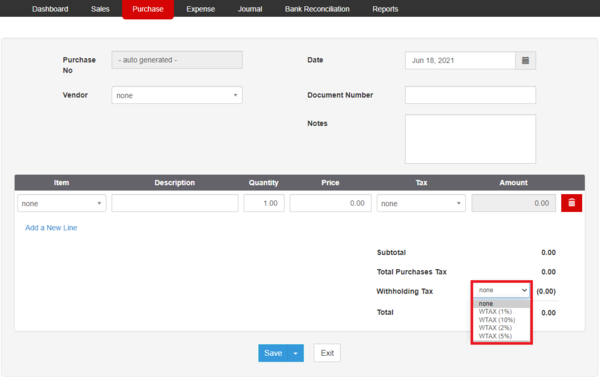
- User has an option to apply the withholding task by clicking the dropdown arrow on the Withholding tax field.
- Make sure to fill up the required fields in order to create an Item record
- Click Save
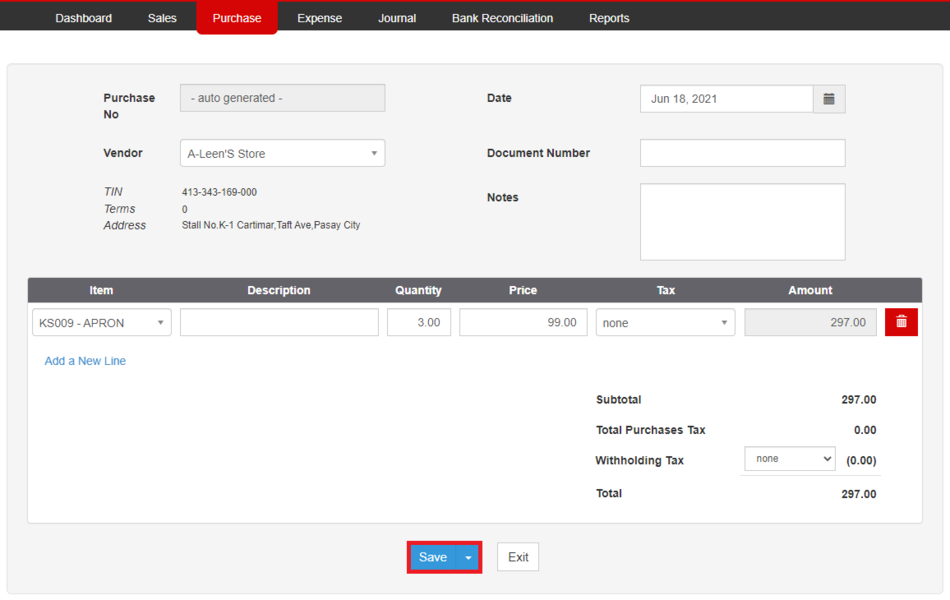
- User has an option on how the Invoice will be save. Below are the following options on saving an Invoice
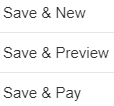
- Save - the system will save the Purchase Transaction and will redirect the user to Purchase Module Menu
- Save and New - the system will save the Purchase Transaction and will redirect the user to Create Purchase Menu
- Save and Preview - the system will save the Purchase Transaction and will redirect the user on viewing the Purchase Transaction.
- Save and Pay - the system will save the Purchase Transaction and will redirect the user on Issue Payments Menu
- User has an option on how the Invoice will be save. Below are the following options on saving an Invoice
_-_Step_01.png)
_-_Step_02.png)
_-_Step_03.png)
_-_Step_01.png)
_-_Step_02.png)
_-_Step_04.png)
%20-%20Step%2001.png)
%20-%20Step%2002.png)
_-_Step_01.png)
_-_Step_05.png)
%20-%20Step%2001.png)
Viewing Purchase Transaction
- Under Main Menu, Click Purchase
- Under Purchase Menu, Select a Purchase Transaction that needs to view its Details, click the drop-down button then choose View
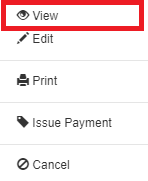
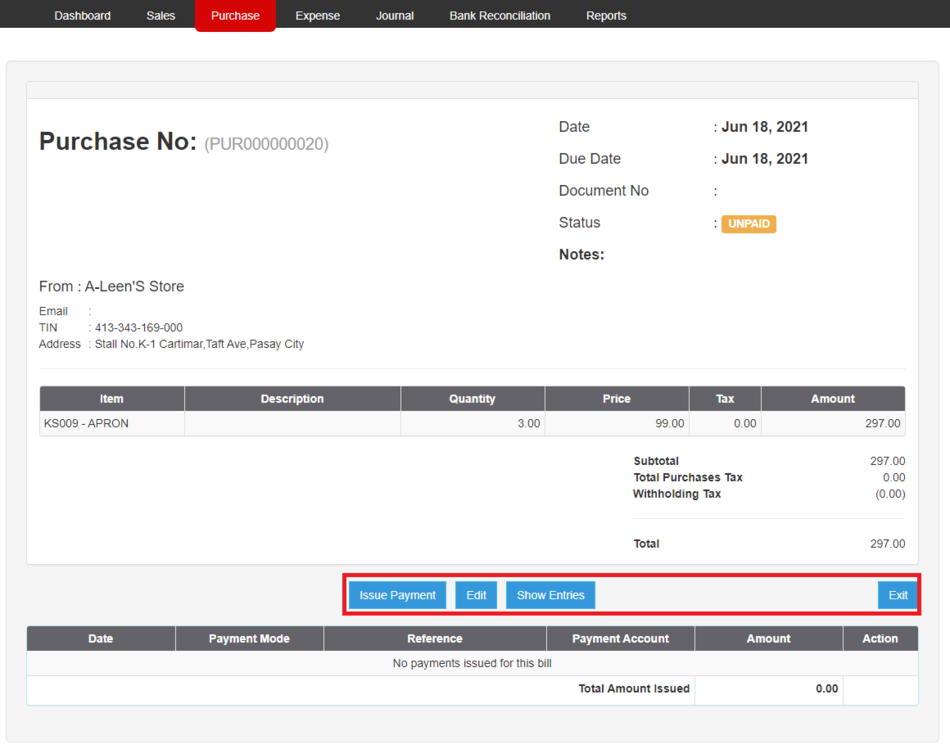
- Under view Purchase, the user has an option to Issue Payment, Edit, Show its entries or Exit the Transaction
%20-%20Step%2001.png)
_-_Step_02.png)
_-_Step_03.png)
Editing Purchase Transaction
- Under Main Menu, Click Purchase
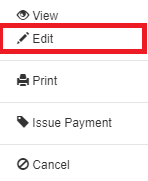
- Under Purchase Menu, Select a Purchase Transaction that needs to update its Details, click the drop-down button then choose Edit
- Update the necessary fields
- Click Save
- User has an option on how the Invoice will be save. Below are the following options on saving an Invoice
- Save - the system will save the Purchase Transaction and will redirect the user to Purchase Module Menu
- Save and New - the system will save the Purchase Transaction and will redirect the user to Create Purchase Menu
- Save and Preview - the system will save the Purchase Transaction and will redirect the user on viewing the Purchase Transaction.
- Save and Pay - the system will save the Purchase Transaction and will redirect the user on Issue Payments Menu
- User has an option on how the Invoice will be save. Below are the following options on saving an Invoice
_-_Step_02.png)
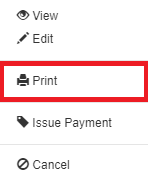
Printing Purchase Transaction
- Under Main Menu, Click Purchase
- Under Purchase Menu, Select a Purchase Transaction that needs to print its Details, click the drop-down button then choose Print
_-_Step_02.png)
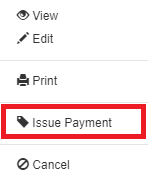
Issuing Payment on Purchase Transaction
- Under Main Menu, Click Purchase
- Under Purchase Menu, Select a Purchase Transaction that needs to issue its payments, click the drop-down button then choose Issue Payment
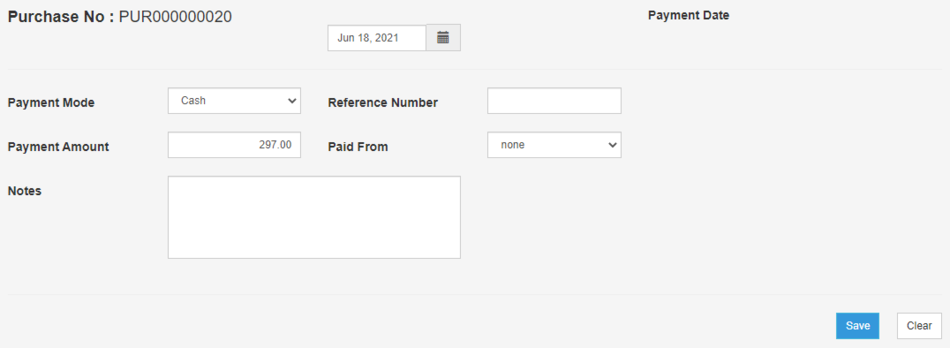
- Under Issue Payment Menu, fill up the necessary fields and click Save
_-_Step_02.png)
_-_Step_03.png)
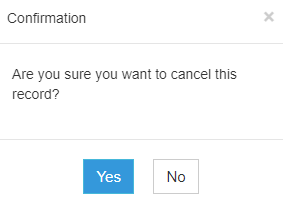
Cancelling Purchase Transaction
- Under Main Menu, Click Purchase
- Under Purchase Menu, Select a Purchase Transaction that needs to cancel, click the drop-down button then choose Cancel
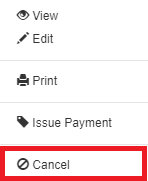
- Click Yes to proceed in cancelling the Purchase Transaction
_-_Step_02.png)
%20-%20Step%2003.png)
Managing Imports and Exports of Purchase
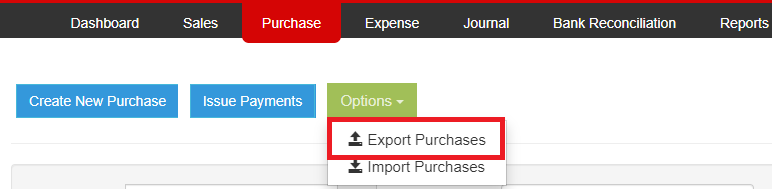
Exporting Purchases
- Under Main Menu, Click Purchase
- Under Purchase Menu, Click Options then choose Export Purchase
- Take note that the user has an option to use the record filters for precise exporting of records
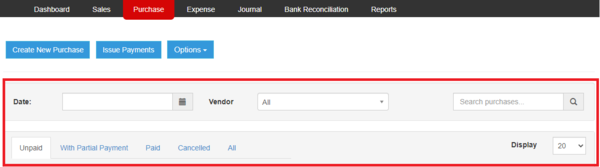
- Take note that the user has an option to use the record filters for precise exporting of records
_-_Step_02.png)
_-_Step_02.1.png)
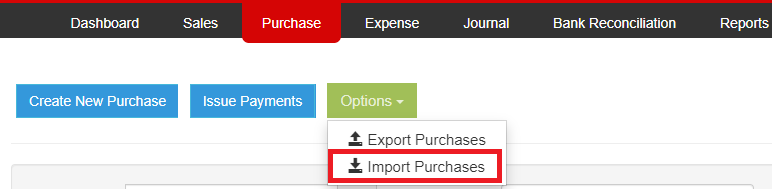
Importing Purchases
- Under Main Menu, Click Purchase
- Under Sales Menu, Click Options then choose Import Purchase
- Download the Template in the Link provided
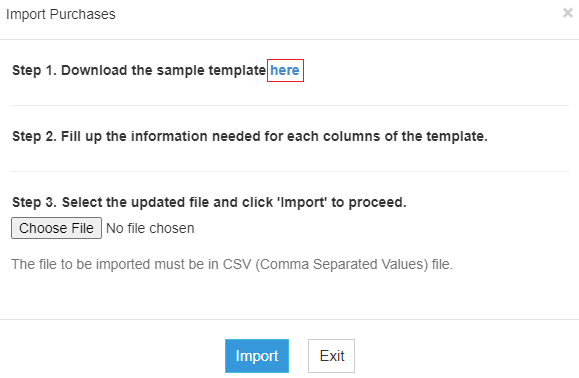
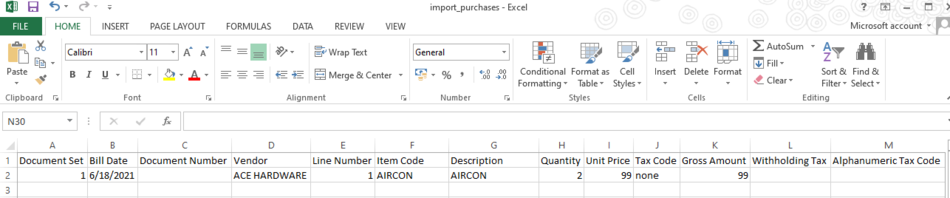
- Fill out the Template
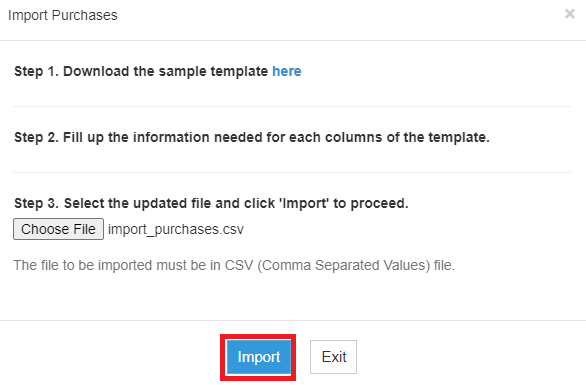
- Attach the Template then Click Import.
_-_Step_02.png)
_-_Step_03.png)
_-_Step_04.png)
_-_Step_05.png)
Issuing Payments on Purchase Module
- Under Main Menu, Click Purchase
- Under Purchase Menu, Click Issue Payments

- Fill up the necessary fields and choose the Purchase Transactions that needs to be paid
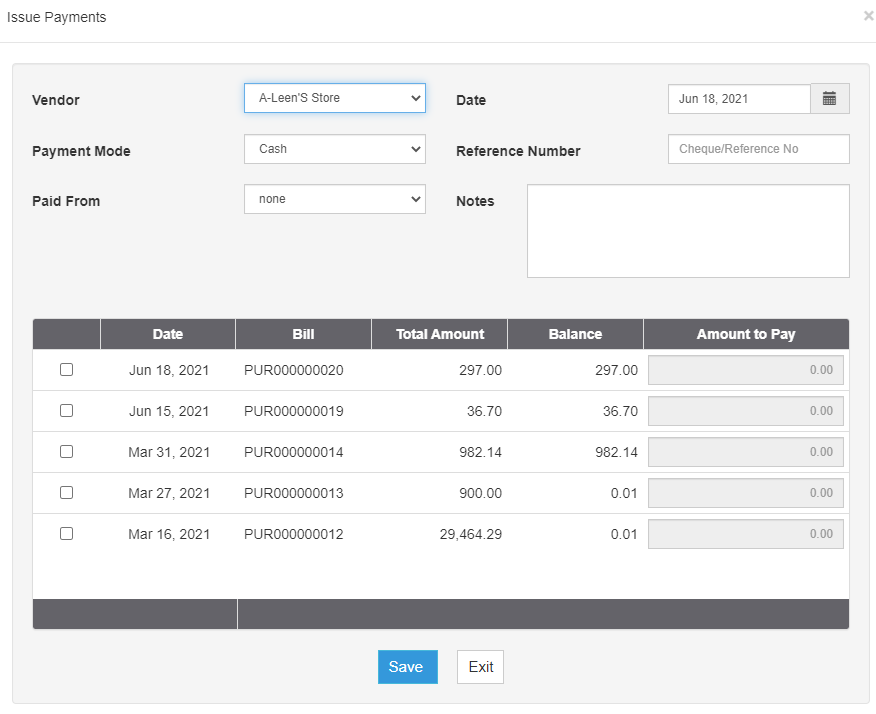
- Click Save
_-_Step_02.png)
_-_Step_03.png)
| Modules | |
|---|---|
| Purchase | Purchase | Purchase Order | Issue Payment |
| Maintenance | Chart of Account | Vendors | Items | Tax |
| Reports | Purchase Journal | Purchase Relief |
| Job Aid Modules | |
| Purchase Aids | Purchase Job Aids |
| Maintenance Aids | Chart of Accounts Job Aids | Vendors Job Aids | Items Job Aids | Tax Job Aids |
| Reports Aids | Purchase Journal Job Aids | Purchase Relief Job Aids |